In-App Integration
In-app storefronts contain checkout processes, order processes, or other customer self-service features that open within an iFrame in your software. They create less friction by allowing customers to check out, upgrade, or make purchases directly in the application, without the need to open a browser.
How to Integrate the In-App Storefront
- Provide Cleverbridge with your in-app payment options.
Before setting up the in-app checkout in your account, provide Cleverbridge a list of the payment options you would like to offer your users. Contact Client Experience for support in choosing proven payment options. - Implement a browser object into your application.
The method for embedding the browser object in your application depends on the programming language you use. This can be implemented in almost every programming environment.
To learn how to embed a browser object in your application using C#, see the In-Application Checkout Process: C# sample code. - Enable instant software activation.
To provide the best possible experience, allow your customers to instantly activate the products they purchase in your in-app checkout. To do so, use a special license key template that enables your application to find and parse the key on the confirmation page after the order has been placed.
Example - Special License Key Template
For the sample Tic-Tac-Toe application, we configured a key template that includes the key twice, as shown below.
To define the key, go to our web admin tool web admin tool and select Products. Then create or edit a product, and go to Delivery > Key Template.
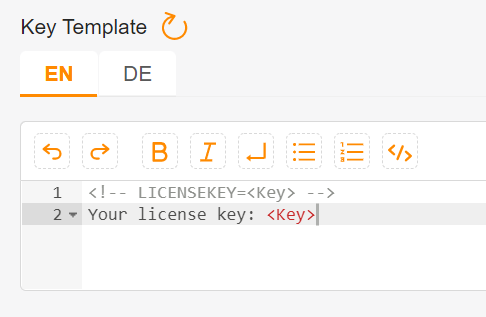
The first key is an HTML comment for your application: <!-- LICENSEKEY=abc-123-def -->, which complies with your application’s search function. This format also ensures it does not display to the customer.
The second key is plain text for the customer’s use: Your license key: abc-123-def. The customer can access the key from the confirmation email or for ordering the product directly in a web browser.
As a best practice, your application should search the HTML code in the embedded browser object regularly. This search should be conducted when a new page is loaded, or periodically, such as once every second.
If necessary, you can add additional information on the confirmation page, such as reference number, total purchase amount, the customer's email address, currency, and license key (if any). This information will be added to the confirmation page as an HTML comment so the HTML does not display to the customer. It may also contain JavaScript functions.
The following example shows the two formats in which you can configure this information. Choose one of these formats:
<!-- PURCHASEID=55033549-->
<!-- LICENSEKEY=123-ABC-456-DEF-->
<!-- ORDERTOTAL=99.95-->
<!-- CURRENCY=EUR-->
<!--
[[purchaseId=55033550]]
[[[email protected]]]
-->For a full list of the available license key template placeholders, see License Key Generators > Define a License Key Template.
Example - In-App Checkout
The following is an example of an in-app checkout process integrated in the sample Cleverbridge application Tic Tac Toe. To download the Tic Tac Toe application, open in-application-checkout-process-example-app.zip.
- When a customer opens the sample Tic Tac Toe application, the Buy now browser object appears at the bottom of the window.
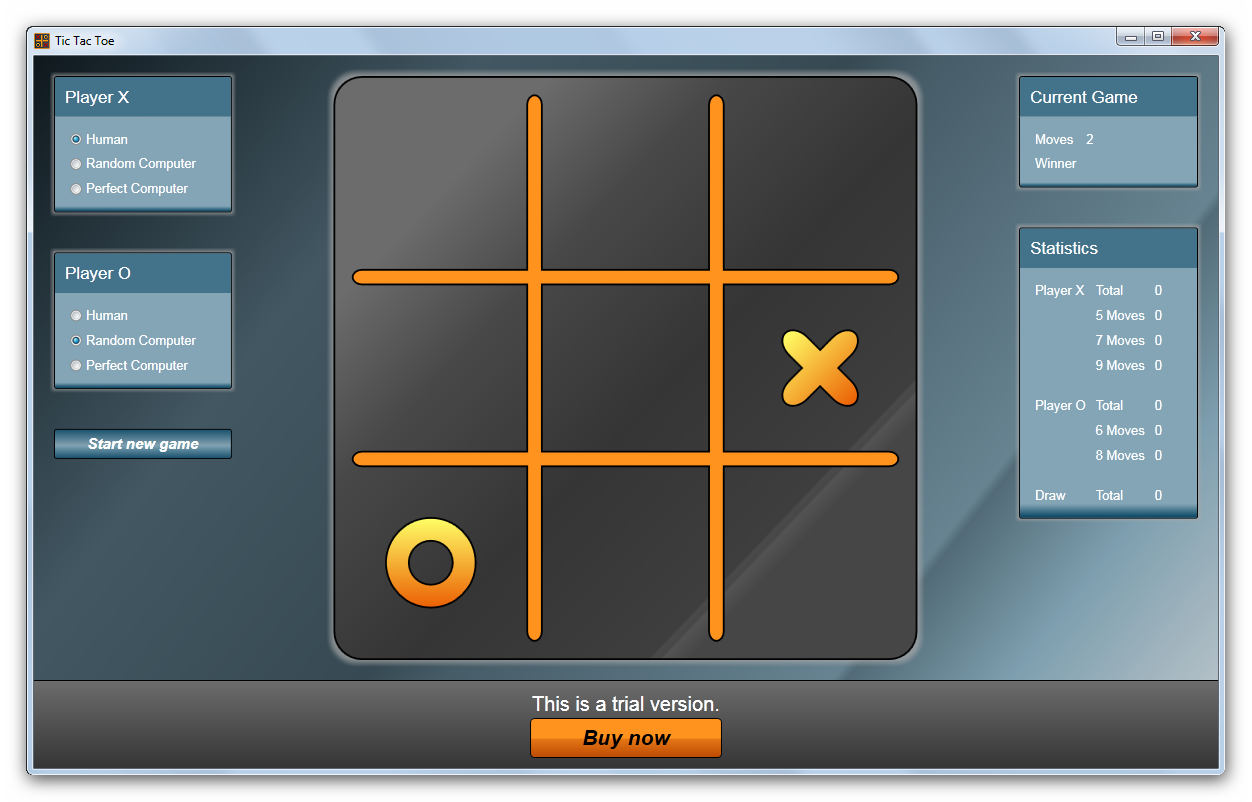
- When the customer clicks on the embedded browser object, they are directed to a customized Cleverbridge order page. To accomplish this, the object opens a Cleverbridge URL.
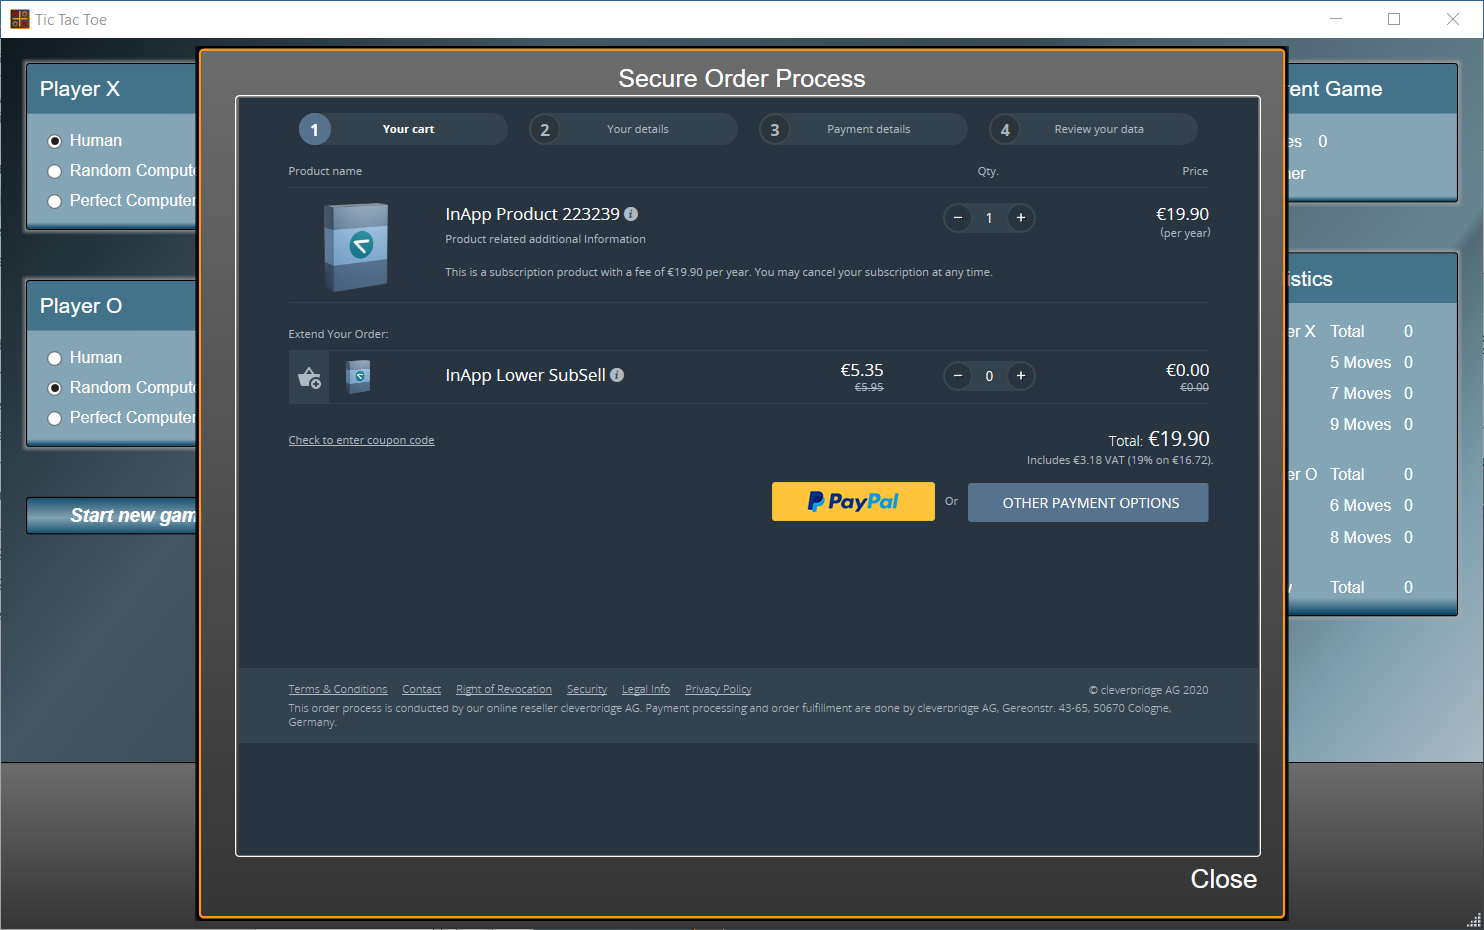
- The customer fills in Your details and Payment details pages.
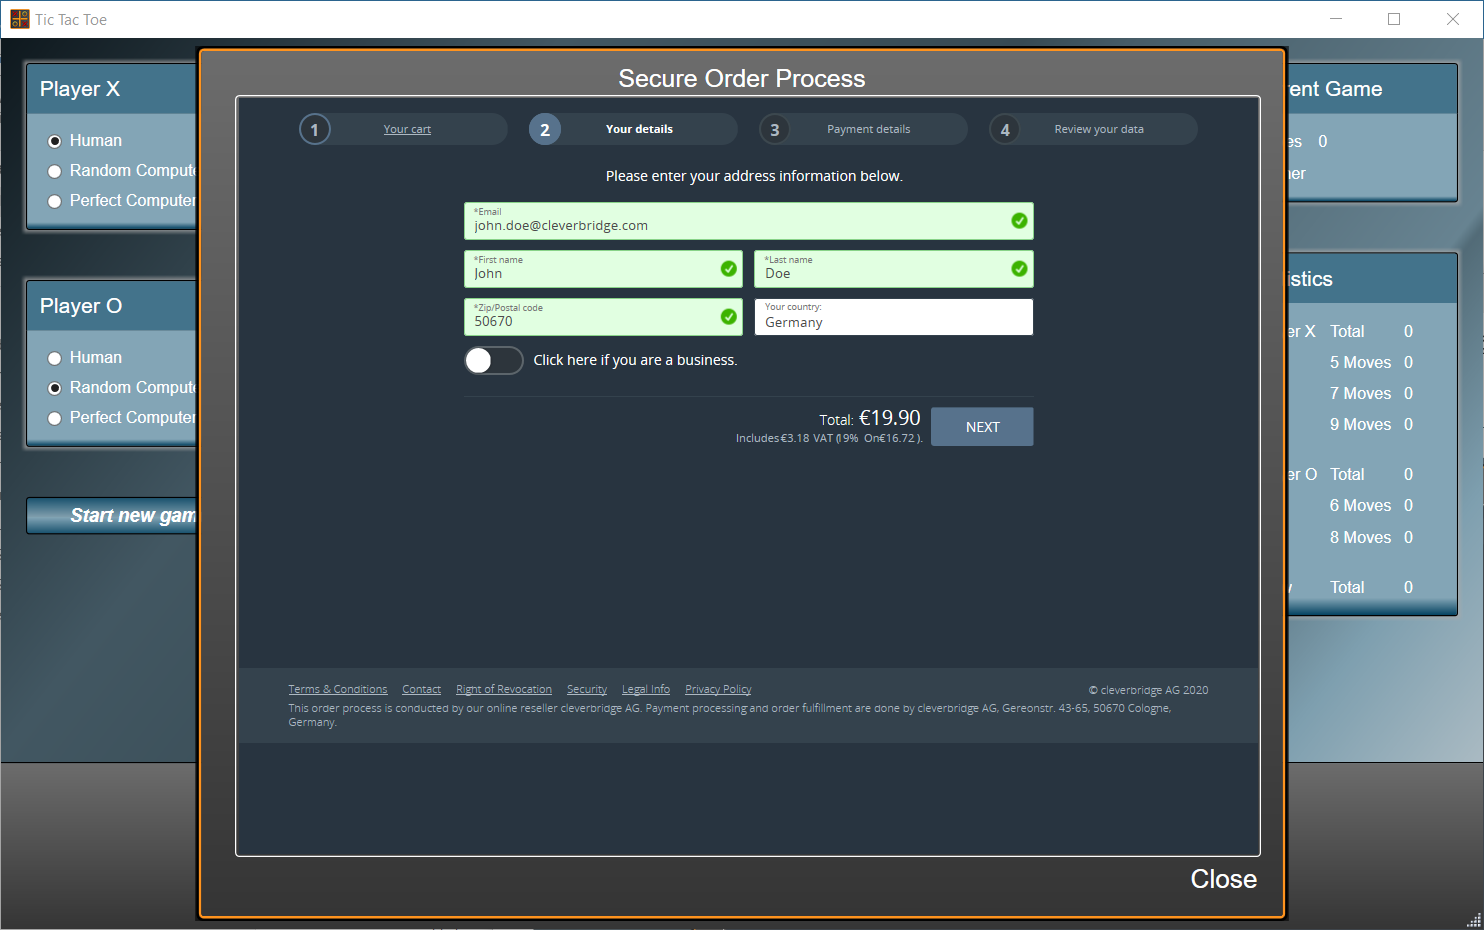
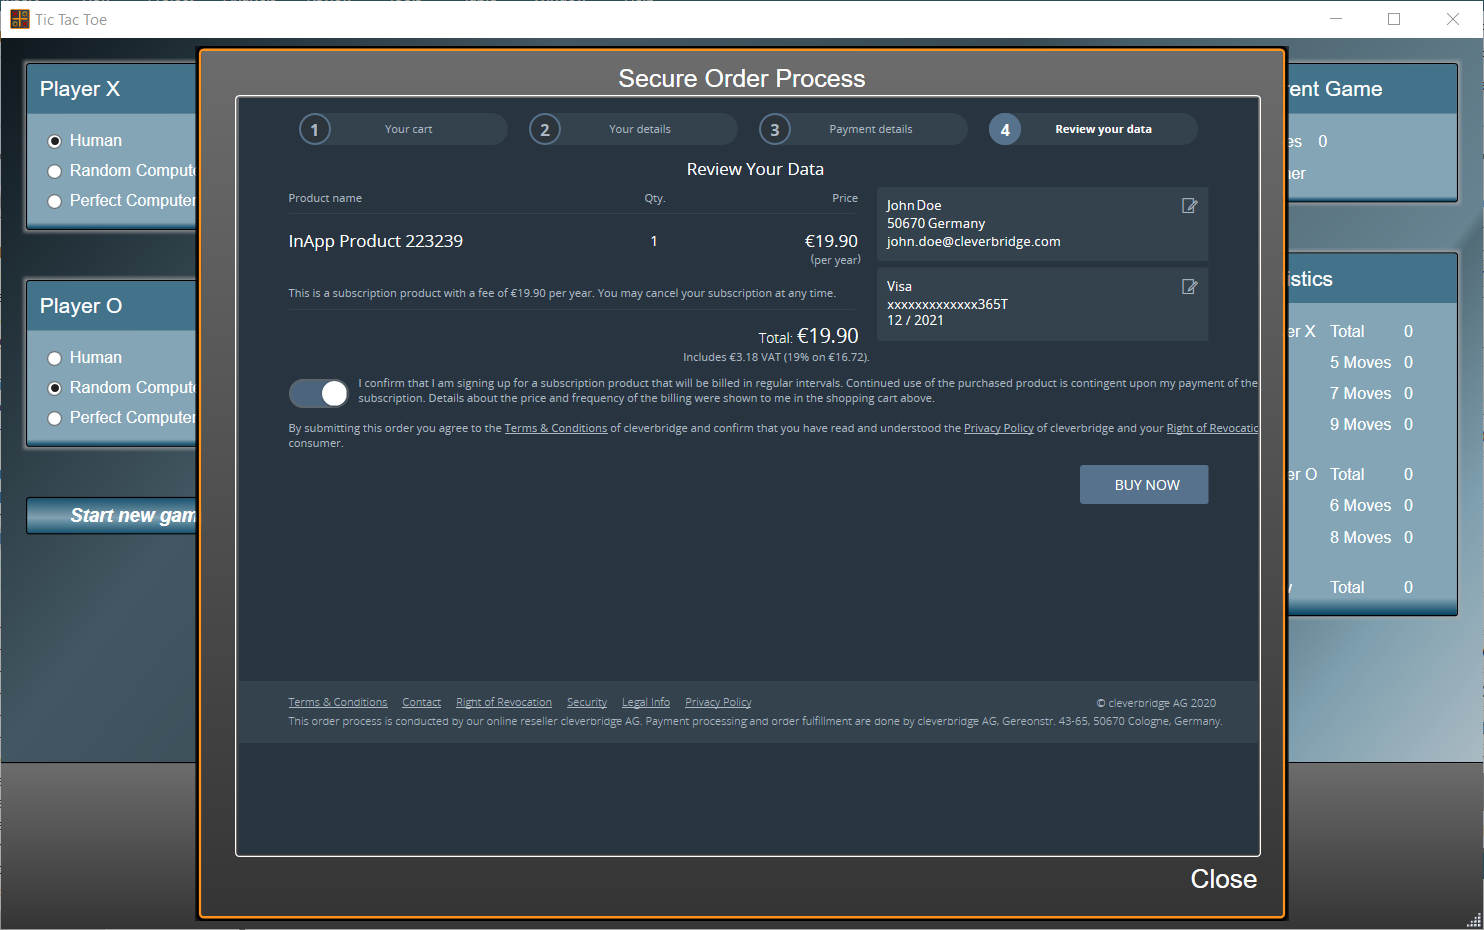
- This customer is directed to the Review your data page, and clicks BUY NOW.
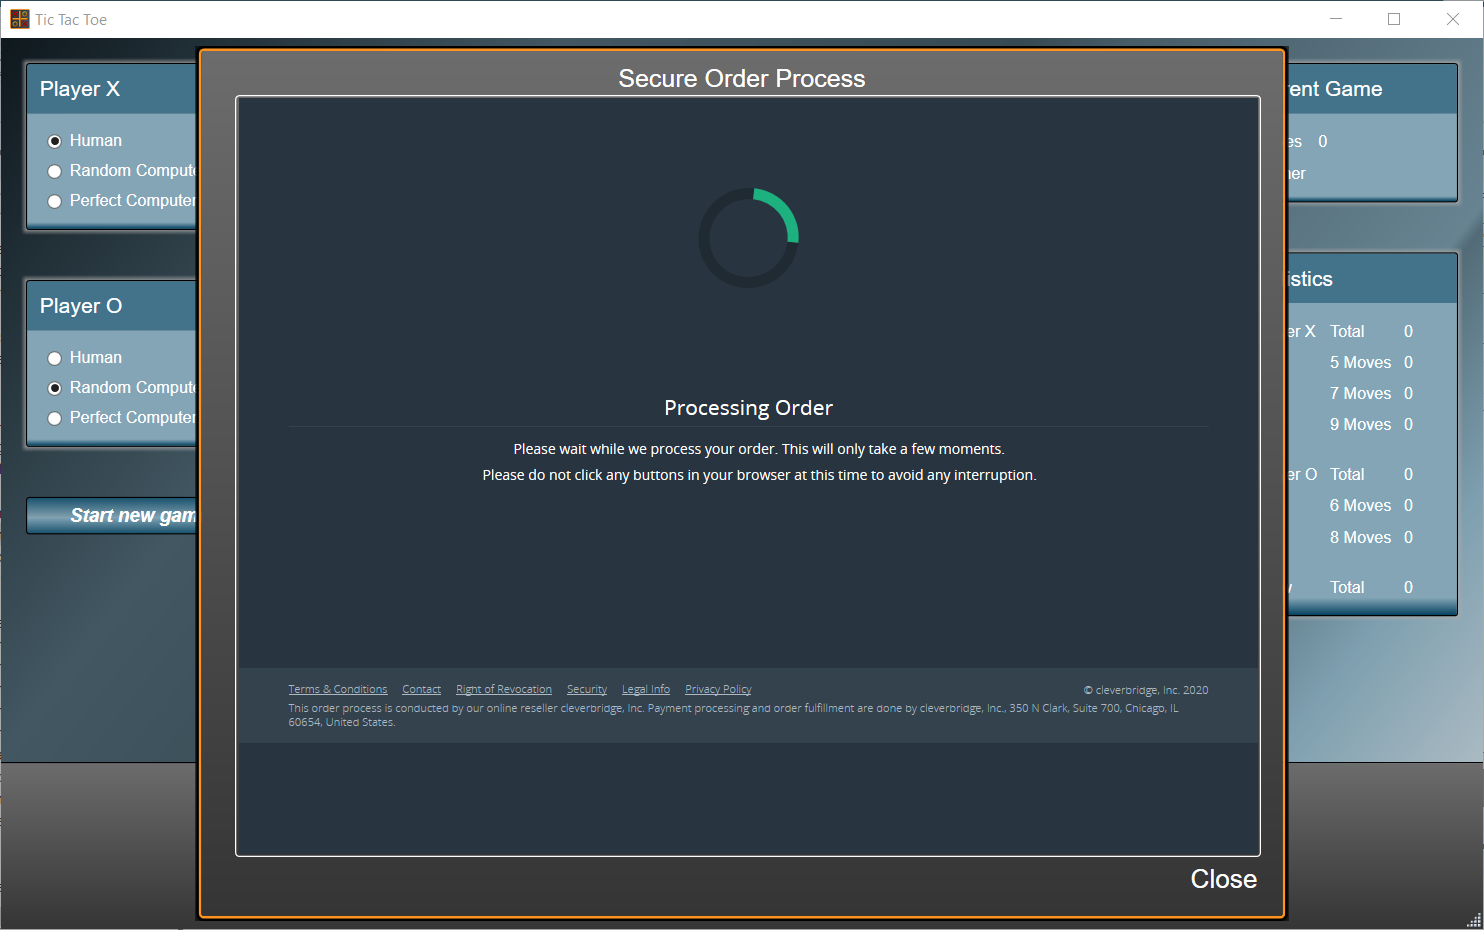
- The customer is told to wait while the order is processed.
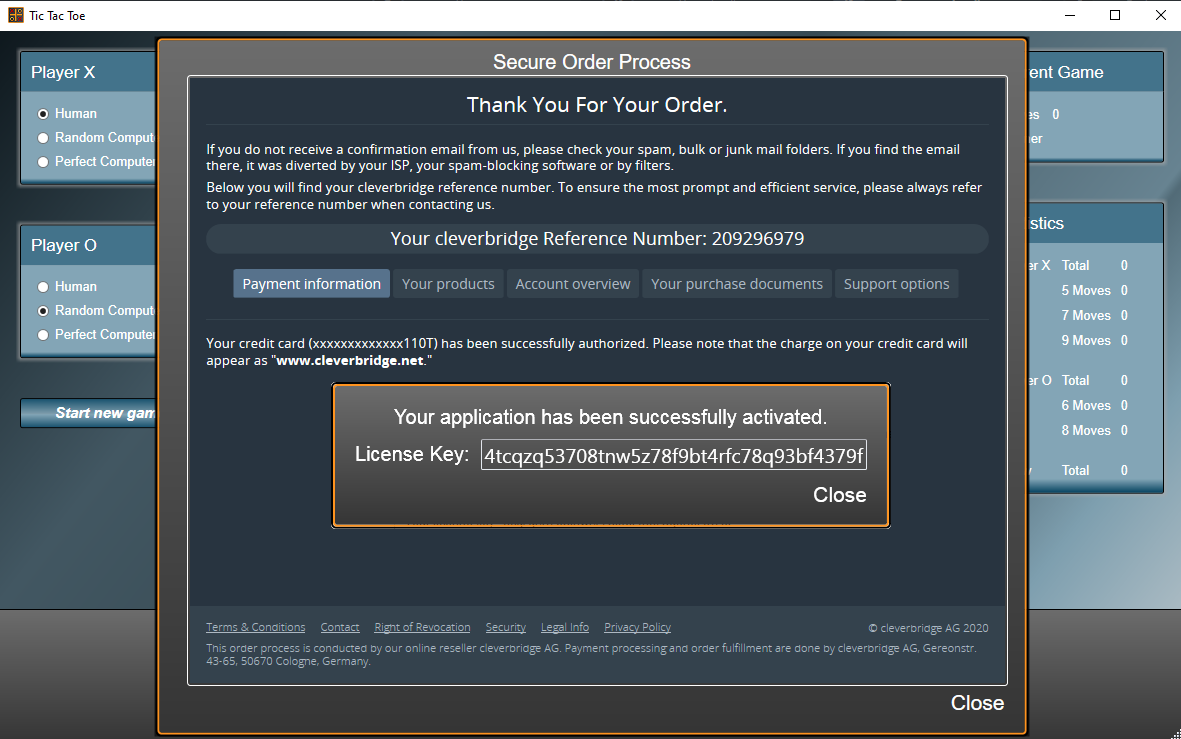
- After payment processing is complete, the application recognizes that a license key has been successfully issued for the customer. The key is automatically injected into the application for activation.
Best Practices
When you decide to use the in-app integration method, consider the following best practices:
- Compliance - When configuring the in-application checkout process, for compliance reasons you must include either a Review page or a Shopping Cart page.
- Big windows - We recommend that you make the buying window as large as possible so you can include marketing tools in the in-app browser.
- Enabled scrolling - In several in-app processes, scrolling is disabled by the software, which can make it difficult to deal with the height of the content. If you want to implement in-app processes, we strongly recommend allowing scrolling within your application’s iFrame.
- The latest rendering engine - If you use the Internet Explorer plugin that is installed on most Windows computers, be sure to use the latest rendering engine. If you don't, companies like PayPal may block your customers from paying.
Updated 3 months ago