Embedded Integration
Embedded storefronts contain checkout processes, order processes, or other customer self-service features that appear on your web page when a customer clicks an action button. They allow you to host your own, integrated cart on your web page, while still utilizing the Cleverbridge platform to collect customer payment information and process transactions. They also enable you to present a smooth, minimalistic Cleverbridge checkout experience on your website.
Our embedded storefront uses iFrames to display our checkout within your website. Some payment methods, such as iDEAL, do not allow displaying their pages inside iFrames. Therefore, Cleverbridge can’t guarantee that all available payment methods can be supported through this embedded storefront.
How to Integrate
Prerequisite
Before you embed the storefront on your page, Cleverbridge needs to create an appropriate design for your shop. Contact Client Experience to adjust the layout of your storefront.
Designate a space on your web page where the frame will appear.
To do so, add the following <div> to your page in the area where the Cleverbridge checkout should appear. Define the size of this wrapper element by the parent element that you place it in.
<div id="cbOrderForm"></div>Add the Cleverbridge JavaScript library to your web page.
-
Insert the following snippet into your HTML page header between
<head> ... </head>.<script src="https://static-cf.cleverbridge.com/mycontent/1/cbFrameCheckout-client-v1.05.js"></script> <script> document.addEventListener("DOMContentLoaded", function(){ // initialize the Cleverbridge library with your preferred options Cleverbridge.init('cbOrderForm', { "debug": true, "storeDomain": 'cleverbridge.com', "showLoadAnimation" : "true", "iframe": { "mode": "embed", "width": "100%", "height": "100%", "style": "border:0;" } }); }); </script> -
Define values for the following elements in the
initfunction:Element Description cbOrderFormUnique ID of your designated checkout area. See the divelement you added on your page.debugSet to trueto see extra information printed out in the browser developer console. This is useful for troubleshooting issues.storeDomainYour Cleverbridge shop host, for example: hostname.yourdomain.comshowLoadAnimationSet to trueto use the Cleverbridge loading animation when the iframe loads.iframe.widthUse 100% to completely fill up your cbOrderFormplaceholder.iframe.heightUse 100% to completely fill up your cbOrderFormplaceholder.
Connect your action button to the JavaScript library.
-
Add the following button with the
onclickevent attribute to your page. This tells the Cleverbridge JavaScript library to start loading a base iframe checkout form once a customer clicks your action button.<button onclick="Cleverbridge.handleCTAClick('https://www.cleverbridge.com/1290/?scope=checkout&cart=220246&cfg=base_iframe_19&showcart=false')">Buy Now</button> -
Replace the base checkout link with your Cleverbridge checkout link for the products in the cart.
Example - Action Button
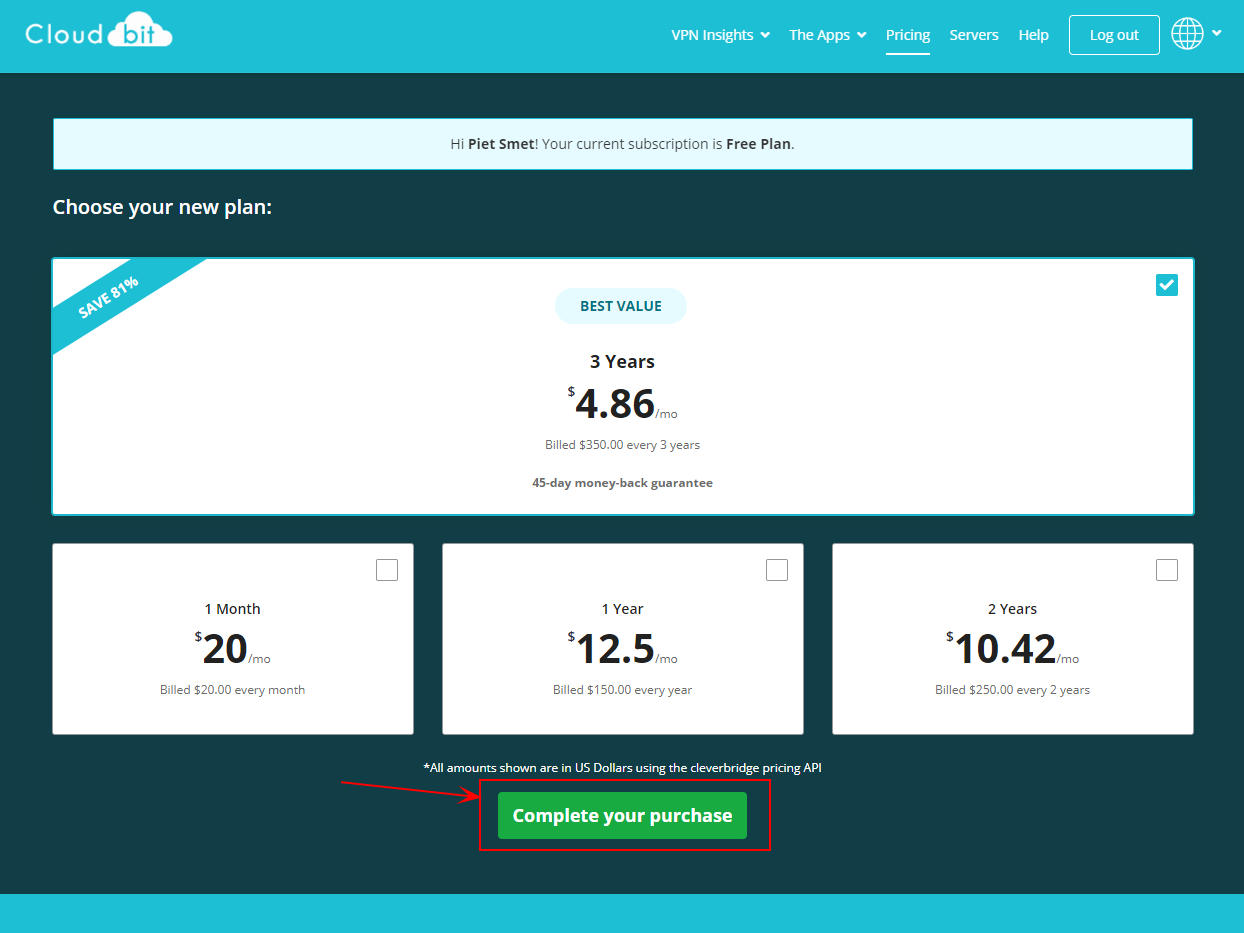
The following is an example of an action button. Adjust the text according to your needs (Buy Now, Proceed to Checkout, Complete Your Purchase, etc.).

Example - Embedded Checkout
For a working example of an embedded checkout process, see the Embedded Demo Page.
Additional Information
To build your own logic on top of the embedded solution, use the events and JavaScript documentation, see JavaScript Storefront Library.
For ready code snippets, see Storefront Use Cases.
Consider the following Storefront Frame Best Practices when you embed the storefront on your website.
Updated 3 months ago